Japanese Indigo- harvesting to extracting pigment
As mentioned in others posts the Japanese Indigo on the roof has had a lot of turbulent days dealing with gales and cold weather in its early days, hence its growth not being at the normal stage in the full summer.

This is mid September when we harvest these fresh Japanese indigo leaves . For comparison, in the photo bellow we show the Japanese indigo leaves grown on the roof (top) and the Japanese indigo leaves grown in my garden patch (bottom). One would not believe they come from the same provenance, the same packet of seeds purchased at Nature Rainbow.-Hitchin.
The ones at the top look small, they were sown in a tray outdoors on the roof and moved to a planter afterwards whilst the ones at the bottom look much bigger and greener, they were grown indoors first and planted in the soil when strong enough.


To extract the pigment we place the fresh Japanese indigo cut leaves in a bucket and cover them with warm water. We add some weights so the leaves are kept under water, we close the bucket with a lid and wait 4 days for the leaves to ferment. The warmer the temperature outside, the best it is to activate the fermentation, ideally above 22 degrees.

After the 4 days period, the fermentation process has broken the plant material releasing the pigment into the water. We remove the leaves, (these are quite smelly after fermentation), keeping the liquid only. On the small tabs used as weights we notice the different colour of pigment, bluer from the garden and greener from roof terrace.


Pigment residue Japanese Indigo leaves after fermentation


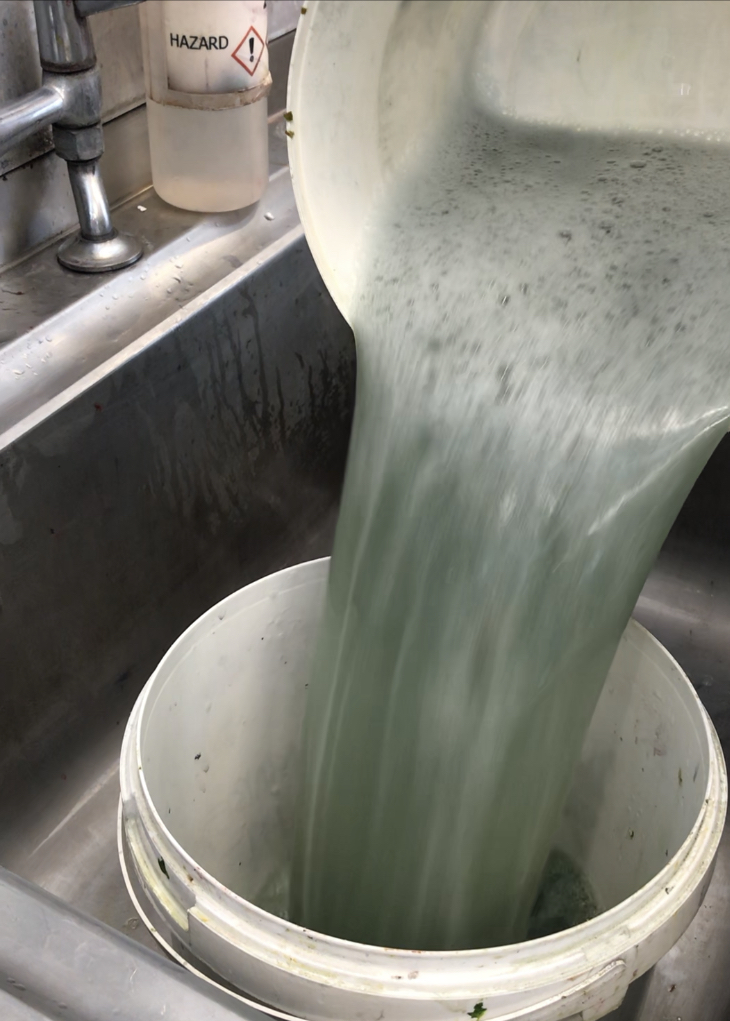
The next step is to raise the PH of the liquid by adding an alkaline such as lime ( calcium hydroxide ). We use PH strip to check the PH, to go up to 10-11. We bring the oxygen to the liquid by pouring from one bucket to another for a while, about 10 minutes to allow the pigment to bound with the oxygen. We can also use a mixer for this .

When the liquid has settled, the pigment would have fallen into the bottom of the bucket. We remove the liquid from the top gently in a container, not to disturb the pigment at the bottom. The discarded liquid is very alkaline, to make it neutral we add some vinegar before pouring it into the sink. The last step is to sieve the remaining dye liquid through a fine cloth such as silk or coffee filter in order to retain the pigment only.

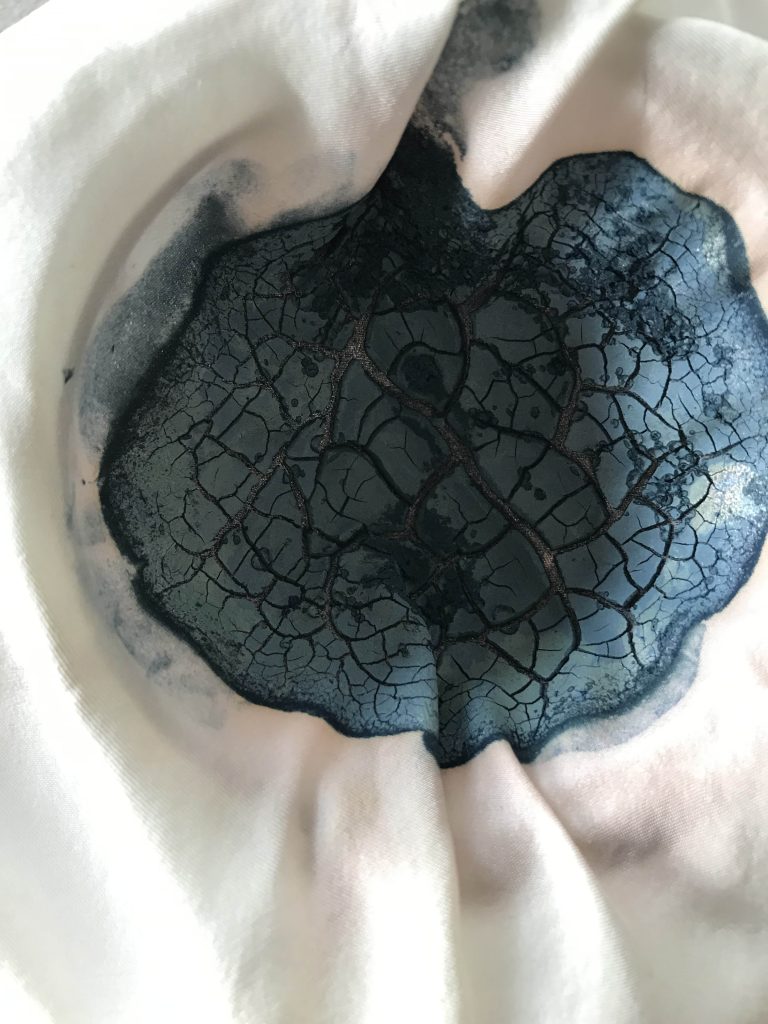
We let the pigment dry completely. We can use a mortar and pestle or a blender to grind the pigment into a fine powder.
We transfer it into a small jar for later use.
The fermentation method of the fresh Japanese indigo leaves is a lengthy process. The resulting pigment is a concentrated and precious powder. Each extraction will produce a slight difference in tone. Slow and magical!